

Valving shims play a key role in your motocross suspension. These thin discs sit inside your shock absorber and control how oil moves through the system. When you understand how valving shims work, you gain the power to tune your ride for any track. The right setup lets you absorb bumps, land jumps smoothly, and stay comfortable through long races. Here is how knowing about valving shims can help you:
| Benefit | Description |
|---|---|
| Suspension Tuning | You can make precise changes to your suspension using valving shims for better control. |
| Improved Rider Comfort | Adjusting valving shims helps reduce fatigue and keeps you comfortable during tough rides. |
| Enhanced Performance on Track | Analytical use of valving shims can boost your overall [“valving shims”] performance. |
Valving shims matter because they directly affect how your bike handles. By learning about valving shims, you take a big step toward mastering your suspension.
Valving Shims and Suspension Shims Explained
The Role of Suspension Shims in Damping
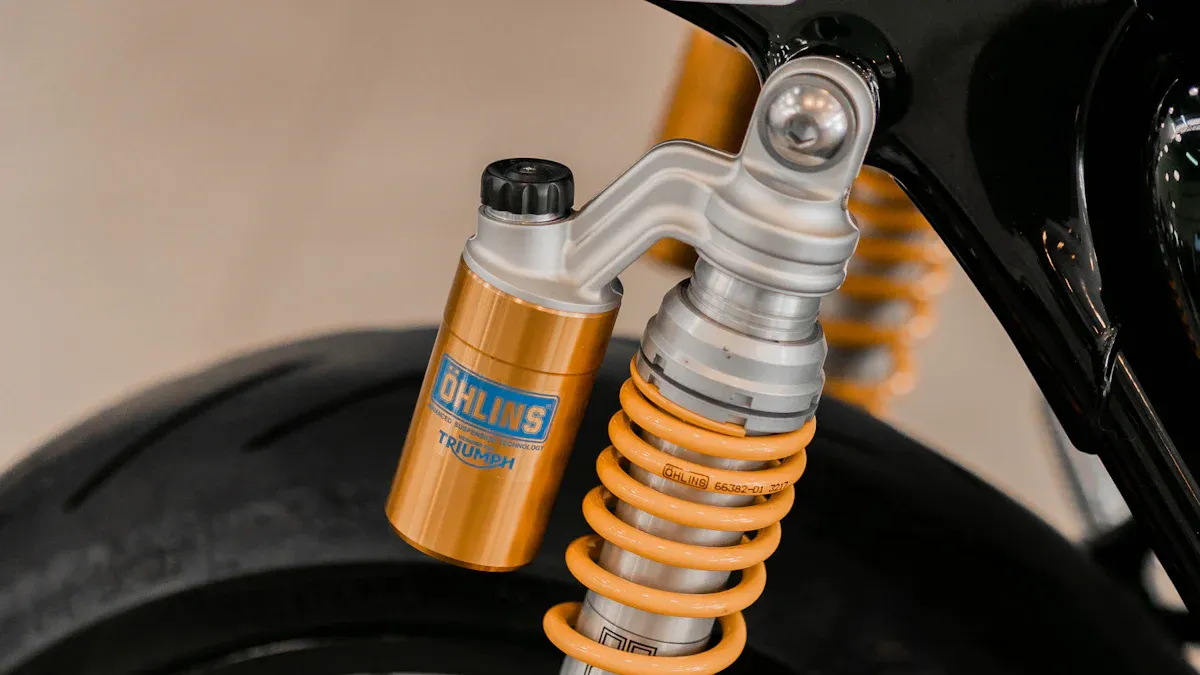
You might wonder how your bike handles bumps and jumps so well. The answer lies in the way suspension shims shape the damping curve inside your shock absorbers. These thin metal discs sit in stacks and flex as oil moves through the suspension. When you hit a bump, the shims bend and let oil pass at a controlled rate. This action creates the damping curve that keeps your ride smooth and stable.
Industry experts highlight several main functions of valving shims in motocross suspension systems:
- You can customize your suspension settings with different shims.
- Shims control how oil flows, which shapes the damping curve.
- You can adjust shims to make your suspension stiffer or softer.
- Shims manage both compression and rebound, giving you more control.
When you understand how shims affect the damping curve, you can tune your bike for any track or riding style.
How Valving Shims Control Oil Flow and Ride Feel
Valving shims play a big part in how your bike feels on the track. When oil moves through the shock absorbers, it pushes against the shims. The way these shims flex and stack together changes the damping curve. If you use thicker or more shims, you get a stiffer damping curve. This setup works well for fast riders or rough tracks. If you use thinner or fewer shims, you get a softer damping curve. This setup helps with comfort and control on smoother tracks.
The damping curve is not just about comfort. It also affects how your bike responds to jumps, landings, and corners. By changing the shims, you can fine-tune the damping curve to match your speed and riding style. You get better grip, more confidence, and a ride that feels just right for you. Suspension shims give you the power to shape your bike’s damping characteristics and performance.
Choosing the Best Valving Shims for Motocross
Shim Sizing and Thickness
You need to pay close attention to shim sizing and thickness when you want to improve your motocross suspension. The size and thickness of each shim in your shock valving stack directly affect how your bike handles bumps and jumps. Thicker shims create a stiffer stack, which means your suspension will resist movement more. This setup works well for high-speed tracks where you need extra control. Thinner shims allow more flex, giving you a softer ride that absorbs small bumps better.
For example, a crossover shim with a thickness of 0.050 softens the initial stiffness, making your bike feel smoother over small obstacles. If you increase the thickness to 0.075, you get a much stiffer stack, which helps when you ride aggressively or hit big jumps. You should remember that the stiffness of a shim does not increase in direct proportion to its thickness. A .12 mm shim is about three times stiffer than a .10 mm shim. This can make your suspension too hard for small bumps, even though it works well for larger impacts. You need to balance shim thickness to match your riding needs and track conditions.
Tip: Always test different shim thicknesses in your shock valving stack before racing. Small changes can make a big difference in how your bike feels.
Materials and Durability of Suspension Shims
You want your suspension shims to last through tough rides and harsh conditions. Most shims are made from high-quality steel, which resists bending and wear. Some manufacturers use special alloys to increase durability and prevent corrosion. When you choose shims for your shock valving, look for materials that can handle repeated flexing without cracking or losing shape.
A durable shim keeps your suspension consistent and reliable. If a shim wears out or bends, your shock valving will change, and your bike may not perform as expected. You should inspect your shims regularly for signs of wear or damage. Replace any shims that look bent, cracked, or rusty. This simple step helps you maintain top suspension performance and avoid problems during races.
| Material Type | Durability Level | Common Use in Motocross |
|---|---|---|
| High-Carbon Steel | Very High | Most shock valving stacks |
| Stainless Steel | High | Wet or muddy conditions |
| Alloy Steel | Highest | Extreme racing |
Matching Valving Shims to Your Riding Style
You need to match your valving shims to your riding style and the tracks you race on. Professional riders use several steps to find the best shock valving setup:
- Study different shim settings for each discipline, such as Enduro, MX, or Motorally.
- Test suspension valving with riders of different skill levels to see what works best.
- Use a dyno to check how the shock valving performs under extreme conditions.
If you ride motocross, you may want a stiffer shock valving stack for fast, rough tracks. This setup gives you better control and helps you land jumps safely. If you prefer Enduro or trail riding, you might choose a softer stack that absorbs bumps and keeps you comfortable over long distances. You should always adjust your shims based on your speed, skill level, and the type of terrain you face.
Note: Your shock valving setup is unique to you. Try different shim combinations and test them on your favorite tracks. You will find the perfect balance for your riding style and improve your overall performance.
Shock Valving and Shim Stacks Tuning
How Shim Stacks Are Arranged in Suspension Systems
You control your motocross bike’s suspension by arranging shim stacks inside the shock absorber. Shim stacks are groups of thin metal discs that sit together in a specific order. Each disc bends when oil flows through the shock, changing how the suspension reacts to bumps and jumps. You can build different valve stacks by choosing the size, thickness, and order of each shim.
Motocross and Enduro bikes use different setups for their valve stacks. The arrangement affects compression damping and the way your bike handles impacts. Here is a table that shows how changes in shim stack arrangement impact suspension response:
| Setup Type | Focus | Compression Damping Characteristics | Resulting Behavior |
|---|---|---|---|
| MX | Bottoming control for jump landings | Increased compression damping to match rebound peak forces | Stiff on bump impact, less compliant on small bumps |
| Enduro | Suspension compliance | Lower compression damping for plush feel | Better small bump compliance, but may struggle with jump landings |
You can see that MX setups use stiffer valve stacks to handle big jumps. Enduro setups use softer shim stacks for comfort on rough terrain. Adjustments to shim stack configurations can enhance small bump compliance or improve bottoming control. You decide how your bike feels by arranging the shim stacks to match your riding style.
Adjusting Shim Stacks for Softness or Firmness
You can tune your shock valving by adjusting the shim stacks for softness or firmness. The stiffness of each shim in the stack controls how much resistance the suspension gives when you hit a bump. Thicker shims make the valve stacks stiffer, which gives you a firmer ride. Thinner shims make the stack softer, which helps absorb small bumps.
Here are some recommended practices for adjusting shim stacks:
- Understand the stiffness of each shim before making changes.
- Use an analytical approach to identify which shims to adjust based on your feedback and performance data.
- Calculate the stiffness of each shim using a formula. This helps you make targeted adjustments.
You can start by changing one shim at a time and testing the results. If you want a softer ride, replace a thick shim with a thinner one. If you need more control for big jumps, add a thicker shim to the stack. You should always test your shock valving after each change to see how your bike responds.
Tip: Small changes in shim thickness can make a big difference in ride feel. Always keep notes on your adjustments so you can find the best setup for your needs.
Balancing Front and Rear Shock Valving
You need to balance the shock valving between the front and rear of your bike for the best performance. If the front and rear valve stacks do not match, your bike may feel unstable or hard to control. Experts recommend a step-by-step approach to balancing shock valving:
- Set the fork compression adjuster to full firm and ride a short loop.
- Set the fork compression to full soft and repeat the loop. Notice how the fork responds.
- Repeat the same process with the rear shock compression clicker.
- Adjust rebound damping by setting the fork rebound adjuster to full slow, riding the loop, then setting it to full fast and comparing.
- Repeat with the rear shock.
- Tune for terrain by adjusting compression and rebound damping based on conditions like soft terrain, hardpack, or muddy tracks.
- Personalize settings based on your feedback, including your weight, comfort level, speed, and type of riding.
You should always test both front and rear shock valving together. If you change the valve stacks in the front, check how the rear responds. If you adjust the rear, test the front again. This process helps you find the perfect balance for your bike.
Note: Balancing shock valving is not a one-time job. You should review your settings regularly and make changes as your riding style or track conditions change.
Impact of Shim Stacks on Ride Quality
Stiff vs. Soft Shim Stack Setups
You can change the way your bike feels by adjusting the stiffness of your shim stack. Stiff shim stacks bend less when oil flows through the shock valving. This setup helps you avoid bottoming out after big jumps. You feel more control on rough tracks, but the ride can get harsh over small bumps. Soft shim stacks bend more, letting oil move faster through the shock valving. You get a smoother ride and better comfort, especially on tracks with lots of small bumps. When you land after a jump, the pressure from the oil increases. The shims bend and allow more oil to pass through. This action helps your suspension absorb impacts and improves your overall comfort. A well-configured shim stack prevents your bike from feeling sluggish or harsh, giving you a better experience every time you ride.
Handling Different Track Conditions with Suspension Shims
You need to adjust your suspension shims to match the track conditions. Start with the correct spring rate and sag setting for your weight. Use the standard clicker settings as a baseline. After riding a few laps, make small changes to your shock valving. Low-speed adjustments help you handle rolling whoops and acceleration bumps. High-speed adjustments help you manage g-outs and jump faces. You should also check your tire pressure and bleed air from the forks if needed. These steps help you get the best shock valving for each track.
- Begin with the recommended stock settings for a baseline.
- Adjust tire pressure according to the terrain.
- Ensure the correct spring rate for your weight and ability.
- Regularly bleed air from the forks if applicable.
When you follow these steps, you improve your bike’s shock valving and get better performance on any track.
Real-World Examples from Motocross Riders
Motocross riders share helpful feedback about different shim stack setups. One rider likes the Enzo shim stack because it feels smooth throughout the stroke, similar to a KYB setup. Another rider says cone valves give better front end traction and bottoming resistance, especially on rough sections. Some riders find that their shock valving works best for low-speed damping, which helps in turns and slow corners. Others notice that adjusting the torque on the lower clamp reduces harshness on rough tracks. These real-world tips show you how important it is to test and adjust your shock valving for the best results.
Practical Tips for Adjusting and Replacing Valving Shims
Essential Tools for Suspension Shim Adjustment
You need the right tools to adjust your valving shims safely and accurately. These tools help you work on your suspension without causing damage. Here are the essentials you should have in your toolbox:
- Dirt bike stand
- Tape measure
- Shock spanner
- Shock punch
- Flathead screwdriver
- Basic hand tools (like a variety of screwdrivers and a hammer)
- Notepad for recording changes
A dirt bike stand keeps your bike steady while you work. Use a tape measure to check sag and other measurements. The shock spanner and shock punch help you open and adjust the shock. A flathead screwdriver lets you remove and install shims. Always write down your changes in a notepad. This record helps you track your suspension tuning progress.
Step-by-Step Guide to Adjusting Shock Valving
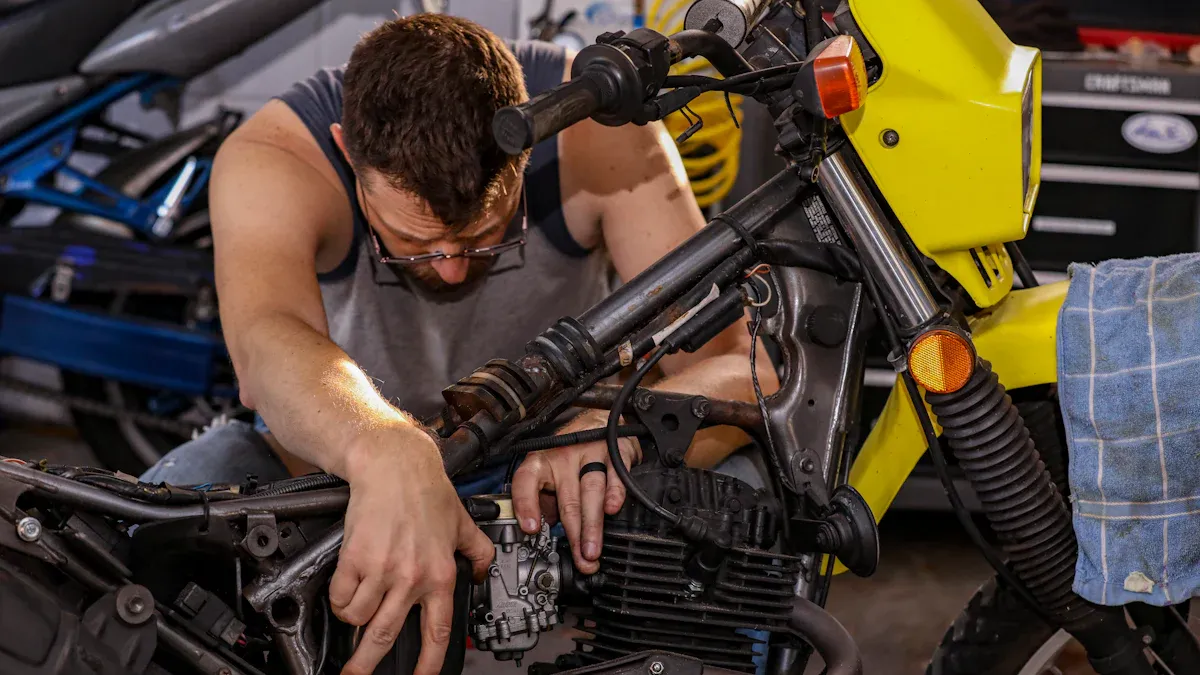
Start by placing your bike on the stand. Remove the shock from your bike using your hand tools. Open the shock carefully with the shock spanner. Lay out the shims in order, so you do not mix them up. Decide if you want a softer or firmer ride. Change the shim thickness or order to match your needs. If you want to adjust for more comfort, use thinner shims. For a stiffer ride, use thicker shims.
After you finish, reassemble the shock and put it back on your bike. Use the compression clickers to fine-tune your suspension. Test your bike on the track. Make small changes to the compression clickers if needed. Write down every change in your notepad. This process helps you find the best shock setup for your riding style.
When and How to Replace Your Valving Shims
You should check your shims during regular maintenance. Look for signs of wear, like bending, cracking, or rust. If you see any damage, replace the shims right away. Worn shims can change your suspension tuning and make your ride less safe.
To replace shims, remove the shock and open it as before. Take out the old shims and install new ones of the same size and thickness. Make sure you stack them in the correct order. After replacing, use your compression clickers to adjust the feel. Always test your bike after making changes to ensure your suspension works as expected.
Common Mistakes and Troubleshooting Suspension Shims
Over-Tightening or Misaligning Shim Stacks
You might think that tightening everything as much as possible keeps your suspension safe. In reality, over-tightening the bolts or misaligning the shim stack can cause big problems. When you over-tighten, the shims may stick together and not flex as designed. This makes your suspension harsh and unpredictable. If you misalign the shims, oil flow gets blocked, and your bike may feel rough or even unsafe.
Here are some common mistakes riders make during shim adjustment:
- Many riders use a “set it and forget it” approach, never checking their work after the first setup.
- Some riders keep changing their suspension settings without understanding the effect, often blaming the bike instead of their own adjustments.
- Failing to follow the correct order when stacking shims can lead to poor performance.
Tip: Always follow the recommended torque specs and double-check the shim alignment before closing up your shock.
Ignoring Wear and Tear on Suspension Shims
You need to inspect your shims regularly. Over time, shims can bend, crack, or rust. If you ignore these signs, your suspension will not work as it should. Worn shims change the way oil moves through your shock, making your ride less comfortable and less safe. Regular maintenance helps you catch these problems early.
- Skipping regular service intervals leads to poor suspension performance.
- Damaged shims can cause your bike to feel harsh or unpredictable.
- Replacing worn shims keeps your ride smooth and reliable.
Note: Always check your shims for damage during every service. Replace any that look worn or bent.
Diagnosing Suspension Problems Related to Valving Shims
When your bike feels off, you need to figure out if the problem comes from your valving shims. Professional tuners use a step-by-step process to find the cause:
- If your suspension feels harsh at both ends of the clicker range, you may need professional re-valving.
- Check if your spring rate matches your weight and riding style.
- Ask a technician to tailor your setup for better traction and comfort.
- A good setup gives you a wider tuning range and better control.
“Ninety percent of problems with modern forks come from the mid-valve. You can change performance, but you cannot get the best of both worlds with this design.”
You should always review your suspension settings and seek expert help if you cannot solve the problem yourself.
You can optimize your motocross suspension by understanding how valving shims work.
- Shims control oil flow and let you customize both compression and rebound.
- The right spring rate for your weight helps shims work best.
- Shim size and thickness change how stiff or soft your ride feels.
- The order of shims in the stack affects how your suspension reacts.
| Aspect | How It Helps You Ride Better |
|---|---|
| Shim Stack | Lets you fine-tune damping for your style and track conditions |
| Damping Feel | Improves comfort and control on jumps and corners |
| Personalization | Matches your setup to your needs for safety and endurance |
- Try small changes and test your bike after each adjustment.
- Start with stock settings, then use clickers to fine-tune.
- Ask experts for advice if you want the perfect setup.
FAQ
What do valving shims do in motocross suspension?
Valving shims control how oil flows inside your shock absorber. You can use them to change how stiff or soft your suspension feels. This helps you handle bumps, jumps, and corners better on the track.
How often should you check or replace your suspension shims?
You should inspect your shims every time you service your suspension. Look for signs of bending, cracking, or rust. Replace damaged shims right away to keep your ride safe and smooth.
Can you adjust valving shims without special tools?
You need some basic tools like a shock spanner, punch, and screwdrivers. These help you open the shock and change the shims. Always use the right tools to avoid damaging your suspension parts.
How do you know if your shim stack setup is too stiff or too soft?
If your ride feels harsh and you feel every bump, your shim stack may be too stiff. If your bike bottoms out or feels unstable, your stack may be too soft. Test and adjust until you find the right balance.