
You can install and tune shock shims by following clear steps and using the right tools. MAX Shock Shims help you get a smoother ride and better stability. These shims control how your suspension works, making your vehicle safer and more comfortable. Anyone can do this job, whether you are new to DIY or have experience.
Key Takeaways
MAX Shock Shims make your ride smoother and more steady. Changing shim thickness helps you adjust your suspension for better results.
Get all the tools you need before you start. Using the right tools, like a torque wrench and clean rags, helps you work safely and easily.
Follow safety rules before you install anything. Clean your workspace, read the service manual, and wear safety gear to stay safe.
Test your suspension after you finish installing. Ride slowly and listen for strange sounds. Make small changes to get the best performance.
Write down every change you make to your shim stack. Keeping notes helps you see what works best for your riding style.
Shock Shims Overview

What Are Shock Shims?
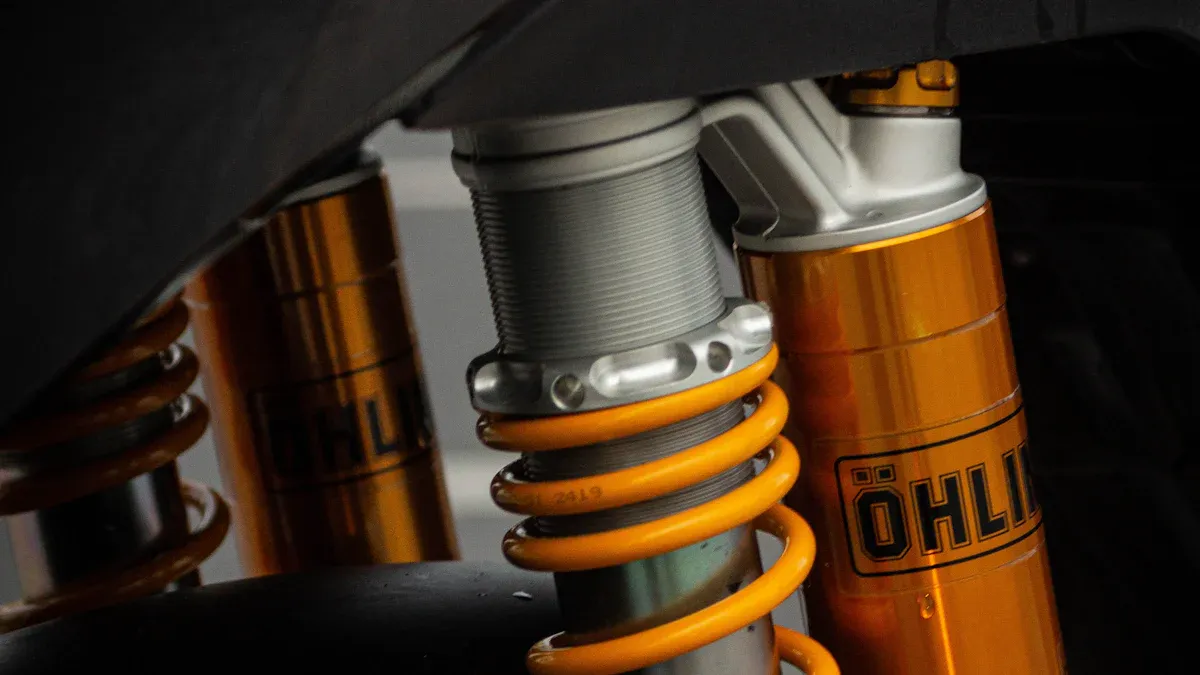
You can think of shock shims as thin discs that sit inside your shock absorber. These shims help control how hydraulic fluid moves through the shock. When you ride over bumps or rough ground, the fluid pushes against the shim stack. The way the shim stack bends and flexes decides how soft or firm your suspension feels. If you want a smoother ride, you can adjust the thickness and arrangement of the shims. This lets you fine-tune your suspension for comfort or performance. You will notice better stability and less noise when your shock shims work well.
Why Use MAX Shock Shims?
MAX Shock Shims stand out because of their high-quality design and materials. You get shims that are CNC-machined for perfect fit and smooth operation. The premium materials used in MAX shims make your suspension last longer and perform better. Take a look at how each material helps your shock absorber:
Material | Contribution to Durability and Performance |
|---|---|
Steel | Gives strength and keeps the shock body tough. |
High-grade Aluminum | Makes the shock lighter but still strong under pressure. |
Stainless Steel | Stops wear and helps pistons and rods last longer. |
Hydraulic Oil | Absorbs energy and helps the shock work smoothly. |
Rubber/Polyurethane | Seals tightly and keeps leaks away, adding to durability. |
You also get peace of mind with MAX Shock Shims.
Products meet TS16949 and ISO9001 standards for quality.
The company listens to customers and works to improve service.
You can ask certified technicians for help with installation, so you avoid any warranty problems.
When you choose MAX, you get shims that fit most vehicles and motorcycles. You can trust the shim stack to give you the ride you want, whether you drive off-road or on city streets.
Tools and Prep for Installation
Essential Tools
Before you start working on your suspension, gather all the tools you need. Having the right equipment makes the job easier and safer. You will need these items for most motorcycle models:
Motorcycle lift or chock helps you keep your bike steady while you work.
Wooden blocks support the frame and prevent movement.
Wedge-shaped shims allow you to adjust the shim stack with precision.
Socket set and wrenches help you remove bolts and nuts from the shock absorber.
Needle-nose pliers make it easy to handle small shims.
Clean rags keep parts free from dirt and oil.
MAX Shock Shims give you the best fit and performance for advanced tuning.
Torque wrench ensures you tighten bolts to the correct specification.
Service manual guides you through coilover installation and helps you avoid mistakes.
You should check that you have every tool before you begin. Missing tools can slow you down and make the process harder.
Safety and Prep Steps
Safety comes first when you install shims or work on your suspension. Follow these steps to prepare for a smooth installation:
Read the procedure in your service manual or the instructions from the manufacturer. This helps you understand each step and avoid errors.
Clean the area around the suspension unit. Dirt and oil can cause problems during installation.
Decide if you need to lift your vehicle or leave it supported by its wheels. The design of your suspension will guide this choice.
Observe the position of the original shock absorbers. Take notes or photos so you can put everything back correctly.
Make sure you have all the tools and shims ready before you start. This keeps your workspace organized and safe.
Tip: Always wear gloves and eye protection when handling shims and working near the shim stack. This protects you from sharp edges and small parts.
Preparing your workspace and following these steps helps you avoid mistakes. You will find that installing shock shims and tuning your shim stack becomes much easier when you stay organized. Advanced tuning starts with careful prep, so take your time and check each step.
Shock Shims Installation Steps
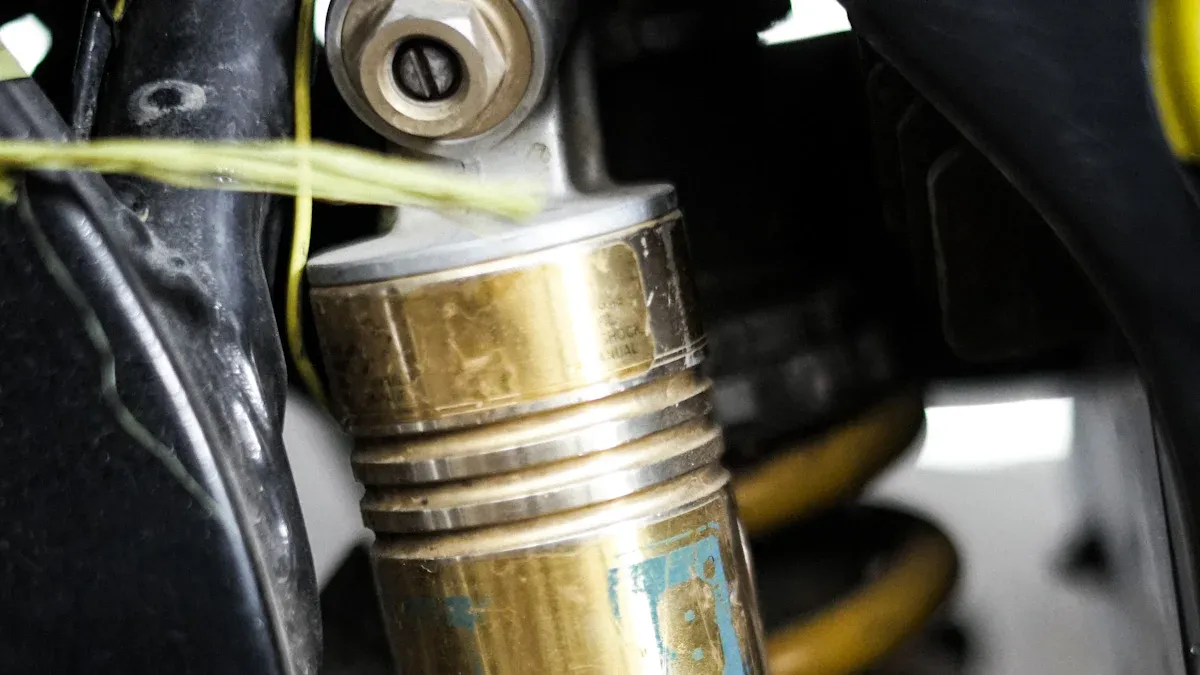
Removing the Shock
You need to remove the shock absorber before you can install new shims or adjust the shim stack. Follow these steps to do it safely:
Prepare your motorcycle. Use a lift or blocks to keep it steady.
Support the swingarm with a jack. This keeps the rear wheel off the ground and prevents sudden movement.
Loosen the locking nuts and bolts that hold the shock in place. Start with the lower bolts so the shock can swing free.
Remove the bolts from the linkage and the top of the shock. Keep all hardware in a safe spot.
Carefully slide the shock out. Make sure you do not damage any nearby parts.
Tip: Take photos of the shock and linkage before you remove anything. This helps you remember how everything fits together during reassembly.
Accessing the Shim Stack
Once you have the shock out, you need to access the shim stack inside. The shim stack controls how your suspension responds to bumps and impacts. Here is how you reach it:
Place the shock absorber on a clean workbench.
Use your service manual to find the correct way to open the shock body.
Remove the end cap or retaining ring. Use needle-nose pliers if needed.
Gently pull out the piston assembly. The shim stack sits on the piston rod.
Lay out the shims in order. Take notes or photos so you can rebuild the stack correctly.
Note: Keep the work area clean. Dirt or oil can affect the performance of your new shims and the whole shock valving guide.
Installing New Shims
Now you can install new shims and build a progressive shim stack for high performance shock valving. Use these best practices for tuning and installation:
Choose shims of the right thickness. Thicker shims make the shock stiffer, while thinner shims allow more flex.
Build a progressive shim stack with 5 to 10 shims of different diameters. This helps you get better compression tuning and rebound tuning.
Arrange the shims in the order you want. Use the format ‘compression over rebound’ to track your tuning changes.
Try advanced tuning options like a flutter shim stack. This extends the soft zone and improves comfort.
Make sure each shim sits flat and lines up with the piston rod. Double-check your work before closing the shock.
Tip: If you want to experiment with valving, change only one shim at a time. This makes it easier to feel the difference in performance.
Reassembly and Adjustments
You need to put the shock back together and check all adjustments before you ride. Follow these steps:
Reinstall the piston assembly and end cap. Make sure the shim stack is in the correct order.
Slide the shock back into place on your motorcycle. Start with the top bolt for easy alignment.
Secure all bolts and nuts. Use a torque wrench to tighten them to the correct specification.
Component Description | Torque Specification |
|---|---|
Rear shock bottom bolt | 45 ft lbs |
Rear shock tower nuts (two) | 43 ft lbs |
Rear upper arm or camber kit bolts | 43 ft lbs |
Rear end links (top) | 28 ft lbs |
Rear end links (bottom) | 29 ft lbs |
Rear sway bar bracket and bushings | 16 ft lbs |

Check the drive chain adjustment. Remove the chain guard and use a straightedge to check sprocket alignment. Adjust chain tension by loosening the motor base bolts and tightening the take-up bolts. Lubricate the chain and replace the guard.
Reconnect power and test the suspension. Listen for noise and check for smooth movement.
Callout: Always test your suspension after installing new shock shims. Ride slowly at first and pay attention to how the shim stack feels. Make small tuning changes if needed.
You have now completed the installation and tuning process. Your coilovers and suspension will work better, and you can enjoy improved performance and comfort. Use your shock valving guide to keep track of changes and keep experimenting with advanced tuning for the best results.
Shock Tuning Guide
Shim Stack Configuration
You can control how your suspension feels by changing the way you set up your shim stack. The shim stack sits inside your shock absorber and decides how much resistance the oil faces as it moves. When you add or remove shims, or change their order, you change the damping force. This is the heart of any shock tuning guide.
Here is a table that shows how different shim stack configurations affect damping:
Shim Stack Configuration | Effect on Damping Characteristics |
|---|---|
Adding shims | Increases damping stiffness |
Removing shims | Decreases damping stiffness |
Crossover shims | Softer low speed, stiffer high speed |
Ring shims | Stiffer low speed, softer high speed |
Tapered shim stacks | Creates a digressive damping force curve |
Crossover gaps | Fine-tunes low speed and transition to high speed |
Clamp shim | Increases stack stiffness and damping force |
Stack float | Softens damping force and makes it more progressive |
Leaf-spring stack | Controls low speed float or high speed blow-off |
Bleed systems | Controls low speed suspension motions |
When you change the thickness of a shim, you also change how stiff the stack becomes. Thicker shims make the stack harder to bend, which increases resistance and makes the ride firmer. Thinner shims bend more easily, so the ride feels softer. The shape and diameter of each shim also matter. These details affect how the oil flows and how much pressure builds up inside the shock. You can use a progressive shim stack to get a smooth ride over small bumps and strong support over big hits. This is a key part of high performance shock valving.
Tip: Always keep your work area clean and organized when you handle shims. This helps you avoid mistakes and makes advanced tuning easier.
Adjusting for Riding Styles
You can tune your suspension to match your riding style. The right setup makes your ride safer and more comfortable. Here are some practical tuning tips for different types of riders:
Cruiser Riders
Set your suspension for a soft, plush ride.
Use shims that allow more flex for comfort.
Choose a seat that adds extra padding.
Adjust throttle response for smooth power.
Sportbike Enthusiasts
Focus on precise handling and stability.
Use a firmer shim stack for better control at high speeds.
Pick tires that grip well.
Adjust throttle and fuel for quick response.
For off-road and street riding, you need to pay attention to different parts of your shock valving guide:
For street riding, the size of the bleed hole on the piston is important. It helps control brake dive and body roll. You want a balance so your bike feels steady at highway speeds.
High speed compression settings help you handle potholes and bumps. Too much compression can make the ride harsh.
To handle big bumps, use a progressive compression stack. Place thinner shims at the top and thicker ones below. This lets the stack flex more on small bumps and stay strong on big hits.
Set rebound so the tire stays in contact with the ground. This stops the bike from bouncing after a bump.
Note: Environmental factors like temperature and terrain can change how your shock shims work. When it gets hot, the oil inside your shock becomes thinner. This can make the damping feel softer, especially on rebound. In cold weather, the oil thickens, making the ride stiffer. Always check your suspension if you ride in extreme temperatures.
Testing and Fine-Tuning
After you finish tuning your shim stack, you need to test your suspension. You have a few ways to check your work:
Method | Description |
|---|---|
Software for tuning | Programs like ReStackor let you see how changes affect damping before you ride. |
Real-world testing | Ride your bike and feel how the suspension responds. Make notes about comfort and control. |
Evaluating stack changes | Use software to predict what will happen if you change the stack, saving time and effort. |
You should always adjust only one variable at a time. If you change too many things at once, you will not know which change made the difference. Write down your starting point and each change you make. This helps you track your progress and avoid confusion. Sometimes, making a big change can show you the right direction for tuning. Small changes are good for fine-tuning, but they can be harder to notice.
Callout: Advanced tuning takes patience. Test your coilovers on different roads and in different weather. Keep a log of your settings and results. Over time, you will learn what works best for your riding style.
You now have a complete shock tuning guide. With MAX shock shims, you can follow these steps to get the best performance, comfort, and safety from your suspension. Keep experimenting and use your shock valving guide to record your progress. Advanced tuning is a journey, and every ride teaches you something new.
You can install and tune shock shims by following clear steps. MAX Shock Shims give you better comfort, safety, and performance. The table below shows why these shims work so well:
Description | Key Points |
|---|---|
High-quality production | Made from the best strip steel for strong and lasting coilovers. |
Precise tolerances | Small tolerances help control oil flow and damping. |
Material properties | Special steel resists corrosion and fatigue, keeping your ride safe. |
Try different shim setups to find what works best for you. Trust MAX for reliable suspension parts.
FAQ
How do you know when to change your shock shims?
You should check your stack if you notice more noise, less comfort, or poor handling. Worn shims in the stack can cause these problems. Regular checks help you keep your stack in top shape.
Can you reuse old shims in your stack?
You should not reuse old shims in your stack. Old shims can bend or wear out. Always use new shims in your stack for the best performance and safety.
What is the best way to organize your shim stack during installation?
Lay out your stack on a clean surface. Arrange each shim in the order you remove them. Take a photo of your stack. This helps you rebuild your stack correctly.
How does the shim stack affect your ride?
The stack controls how your suspension feels. A thick stack gives a firm ride. A thin stack makes it softer. Changing the stack lets you tune comfort and control.
Do you need a shock valving guide for tuning your stack?
A shock valving guide helps you understand how each stack change affects your ride. Use the guide to track your stack setup and results. This makes tuning your stack easier and more effective.