Introduction
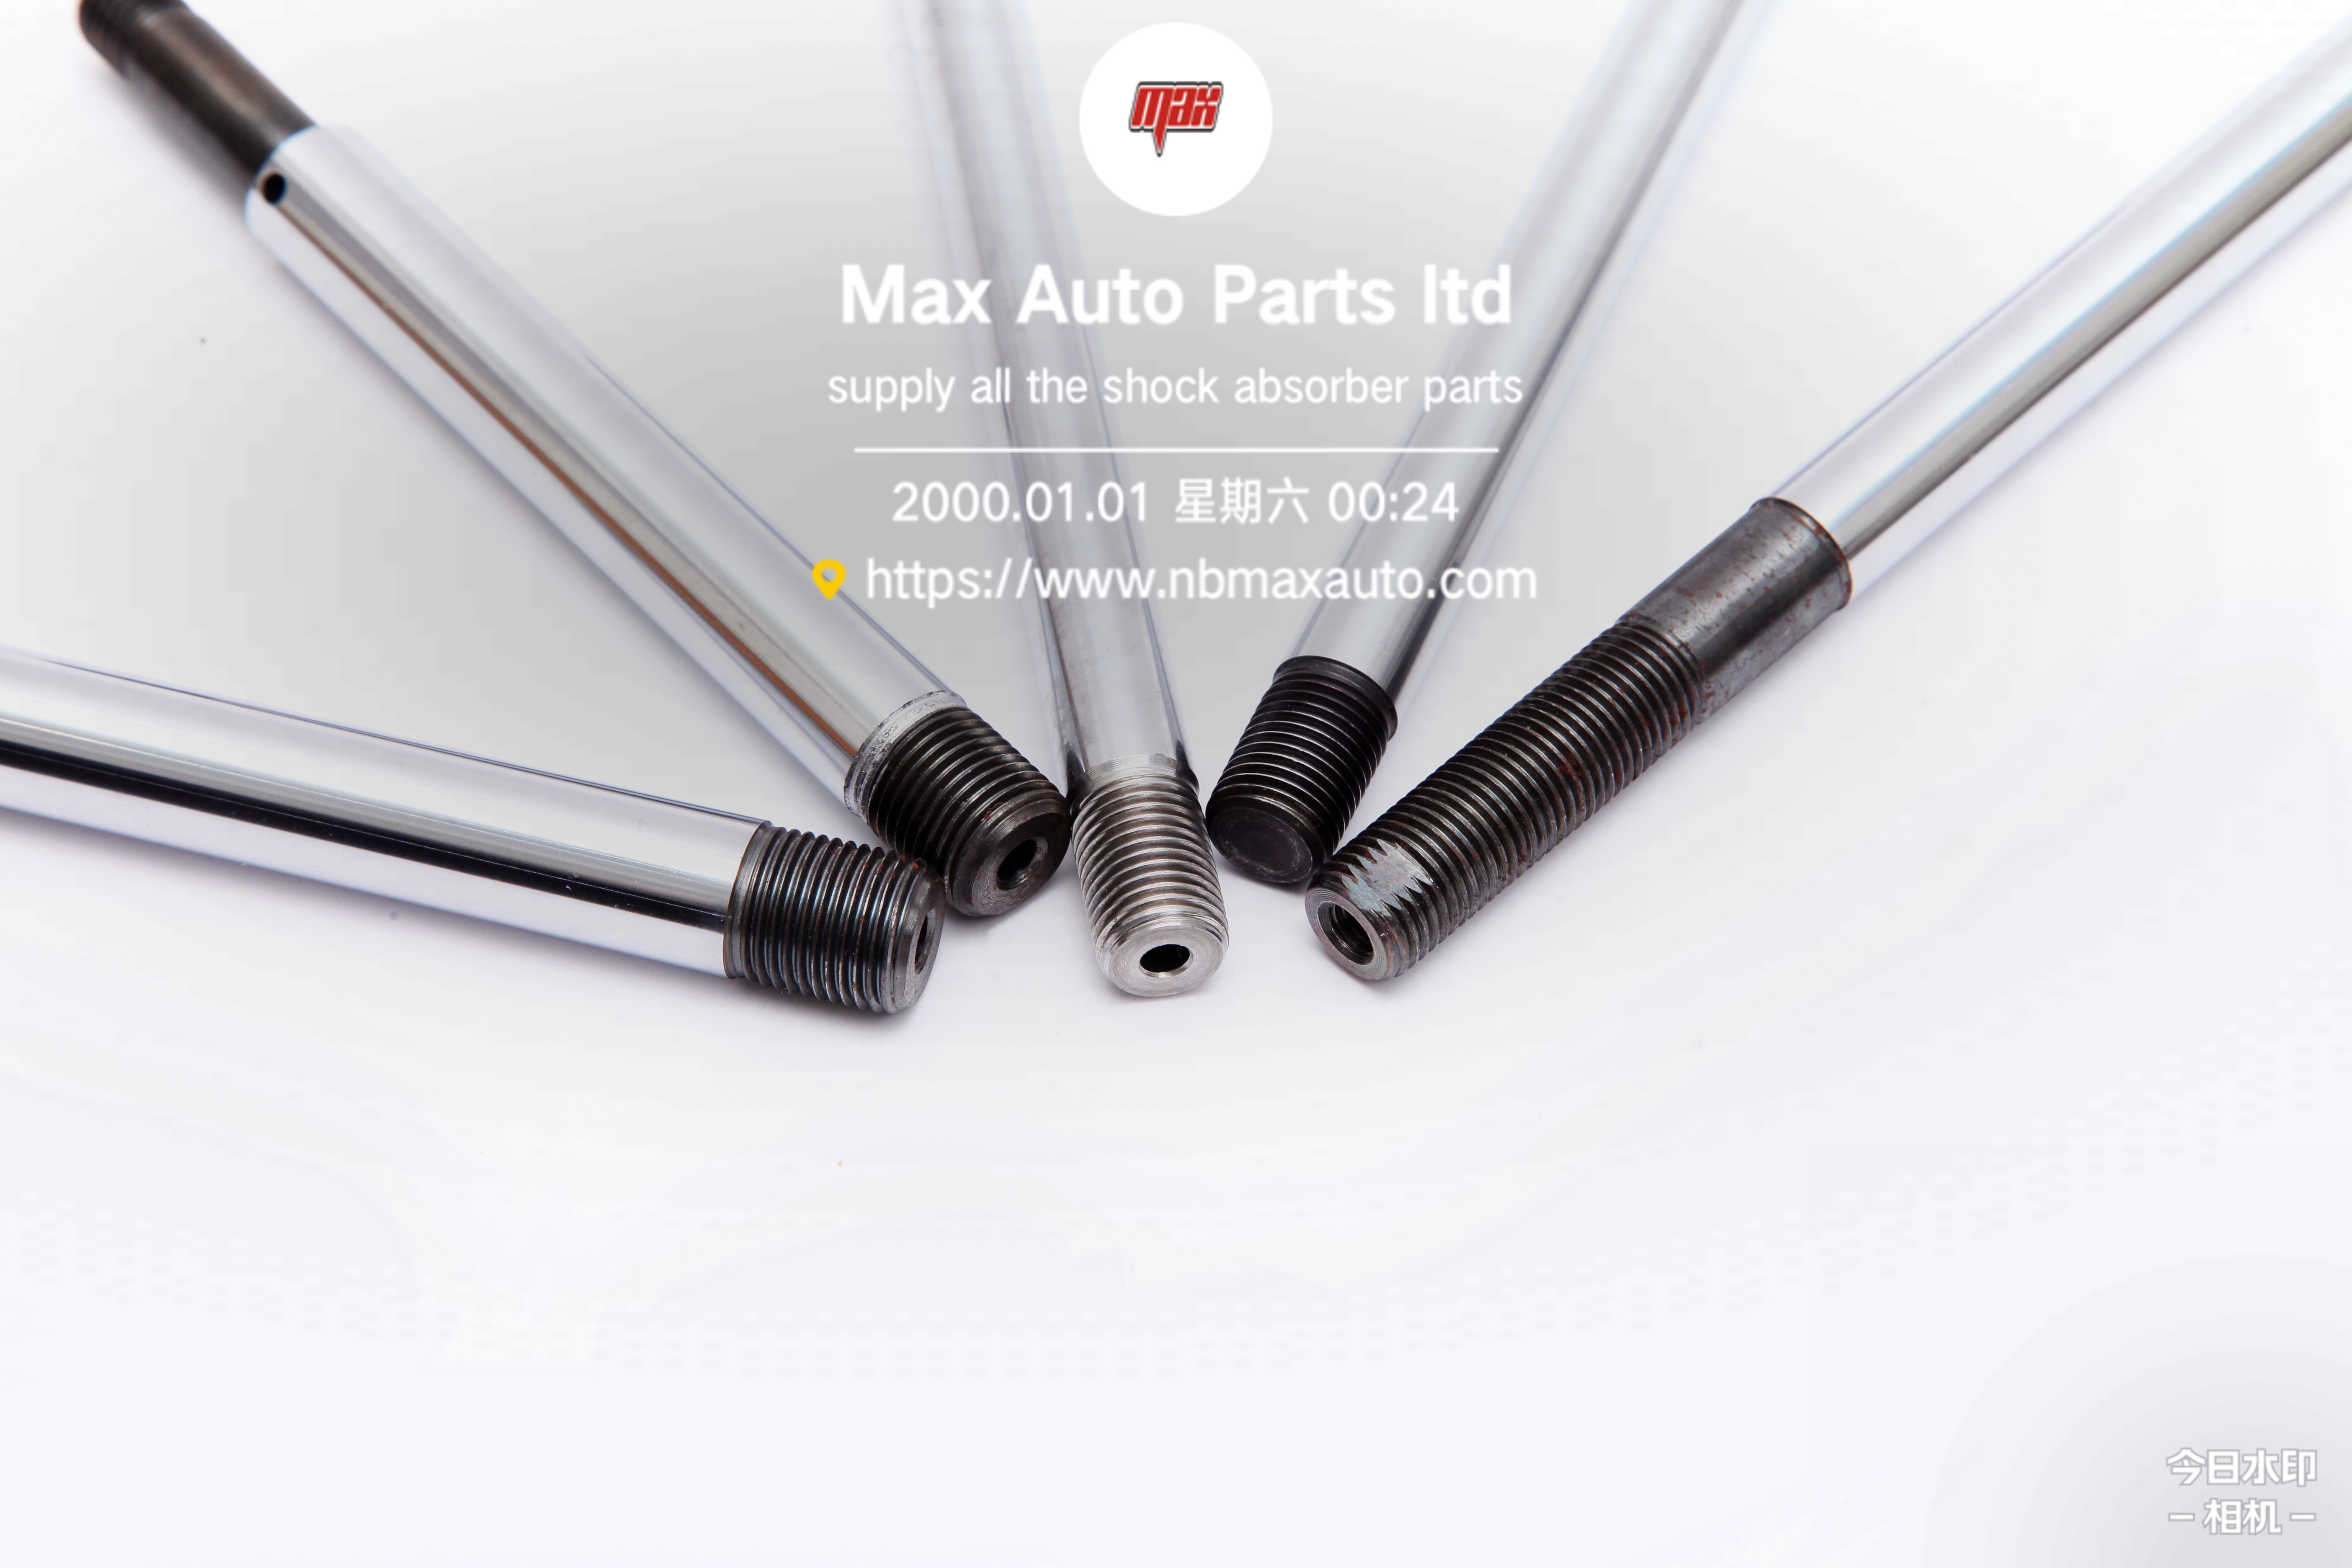
As one of the core parts of suspension shock absorber, the piston rod of automobile shock absorber is not only affected by axial and lateral reciprocating force, but also by friction. Under the action of these forces, the piston rod is easy to cause strength, deflection, fatigue failure, and also easy to cause oil seal failure. In order to improve the mechanical properties of the piston rod and achieve hard wear resistance and good soft toughness inside, the surface of the piston rod is treated with hard chromium plating with micro-cracks. The thick, thin or uneven coating caused by improper electroplating process of piston rod will lead to the reduction of mechanical characteristics of piston rod and directly affect the ride comfort, stability and safety of automobile. When the scratches caused by poor plating and improper handling, electroplating attachments and electroplating pores lead to macroscopic defects on the surface of the cylinder, it is easy to lead to the strength, deflection, fatigue and wear failure of the piston rod. Due to the unreasonable electroplating process, the micro-crack density on the cylinder surface of the piston rod is unqualified, which affects the friction between the piston rod and the guide seal assembly of the shock absorber. Therefore, good chrome plating technology of piston rod and high precision and high quality detection technology are of great significance to ensure the quality of the piston rod of shock absorber .[1]
1.Piston rod requirements for chrome plating.
The requirements of the piston rod for the chromium plating layer are respectively the requirements for the hardness of the coating, the requirements for the thickness of the coating, the requirements for micro-cracks, the requirements for the adhesion of the coating, the requirements for the surface roughness and the requirements for the appearance.
1.1Requirements for hardness of chrome plating layerIn order to increase the hardness of the piston rod, improve the wear resistance, and increase its service life, the hardness of the coating is usually Hv900, and for some models under special loading conditions, there will be Hv1050 requirements.
1.2 Requirements for coating thickness
The wear resistance of the piston rod is also directly related to the thickness of the chrome plated piston rod. Although the wear resistance and life of the shock absorber are not completely proportional to the thickness, the service life will be greatly reduced if the thickness is reduced, and the surface wear resistance will become worse. The thickness of chromium coating should not be too thin, should not be too thick, too thin affect the wear resistance of chromium coating, and too thick will affect the toughness of chromium coating. It is usually required that the thickness should be greater than 10um.
1.3Requirements for micro-cracks
The micro-crack on the surface of the piston rod is also produced in the process of chromium plating, a reasonable micro-crack density has the effect of increasing the hardness of the piston rod and containing oil (lubricating oil), which plays an extremely important role in the process of vertical movement of the shock absorber, usually, the micro-crack density on the surface of the piston rod is required to be 400-1000 /cm.
1.4Requirements for adhesion of coating
Due to its high hardness, as well as the difference in the coefficient of thermal expansion between the base metal and the chromium metal during the heating process to remove hydrogen embrittlement after electroplating, the adhesion between the chromium plating layer and the substrate will become poor, and the chromium layer may crack or fall off when subjected to pressure or external impact. In the production process, each plating parameter needs to be adjusted to make the chromium layer uniform growth coverage to ensure good binding force.
1.5Requirements for surface roughness
In order to improve the wear resistance of the shock absorber during use and reduce the friction during reciprocating motion, it is usually necessary to polish to improve the surface roughness. The requirements for the surface roughness of the finished piston rod are usually Ra0.1 or less, and some products with special assembly requirements will be higher, Ra0.06 or less.1.6 Appearance requirementsLarge defects on the surface of the piston rod will lead to poor corrosion resistance and reduce the service life of the shock absorber, which usually requires that the outer surface of the chromium coating should be shiny and without pinholes.
1.6Appearance requirements
Large defects on the surface of the piston rod will lead to poor corrosion resistance and reduce the service life of the shock absorber, which usually requires that the outer surface of the chromium coating should be shiny and without pinholes.
2.Piston rod chrome plating production process
Electroplating is the process of plating a thin layer of other metals on the surface of some metals using the principle of electrolysis The process of attaching a layer of metal film to the surface of other materials to prevent metal oxidation (such as rust), improve wear resistance, electrical conductivity,Reflective, corrosion resistance (copper sulfate, etc.) and improve the appearance of the role. The piston rod chrome plating schematic is shown in Figure 1.
In the plating process, the plated object, the piston rod, is the cathode, and after an electrochemical reaction, the metal chromium in the bath is converted to the metal surface to form a dense metal chromium layer.
2.Piston rod chrome plating test process
The detection of chromium plating layer is mainly divided into hardness detection, thickness detection, micro-crack detection, adhesion detection, surface roughness detection and appearance detection. Chromium plating hardness testing of piston rod The Vickers hardness of chromium plating is usually tested using a Vickers hardness tester. The thickness inspection is usually carried out by the coating thickness gauge, and the inspection scene is shown in Figure 2.
The detection of micro-cracks is to take local images on the chrome plating layer of the piston rod by laser microscope, and then identify them by image recognition algorithm [2]. The field diagram of micro-crack detection is shown in Figure 3.
The test of adhesion is to perform the adhesion test by bending the piston rod, apply a 2mm/Min force in the vertical direction until the bending amount reaches 8mm or until the piston rod breaks, observe the surface state of the bending position, slight chromium layer micro-grain is allowed, but not allowed to flake or peel. Roughness measuring instrument is used to test the surface roughness. Ra and Rz are two commonly used calculation methods for roughness measurement. When measuring, the sampling length is usually selected as 0.8mm and 0.25, and the evaluation length is generally 5 times the sampling length. The appearance inspection is carried out by the semi-automatic inspection system of machine vision. This method of detection has high requirements for the cleanliness of the piston rod surface, but all kinds of surfaces can be detected next time, and the piston rod appearance inspection site diagram is shown in Figure 4.
4.Conclusion
The research integrates various advanced manufacturing processes at home and abroad and independent innovation, which can effectively improve the quality and performance of the piston rod of the automobile shock absorber, reduce production costs, improve production efficiency, and comprehensively improve the competitiveness of the auto parts industry, so as to achieve the optimization of economic and social benefits.
Max Auto Parts has the own piston rod factory , the chrome plating factory . We have made piston rod more than 20 years , Welcome to communicate with us .
Post time: Dec-07-2023


